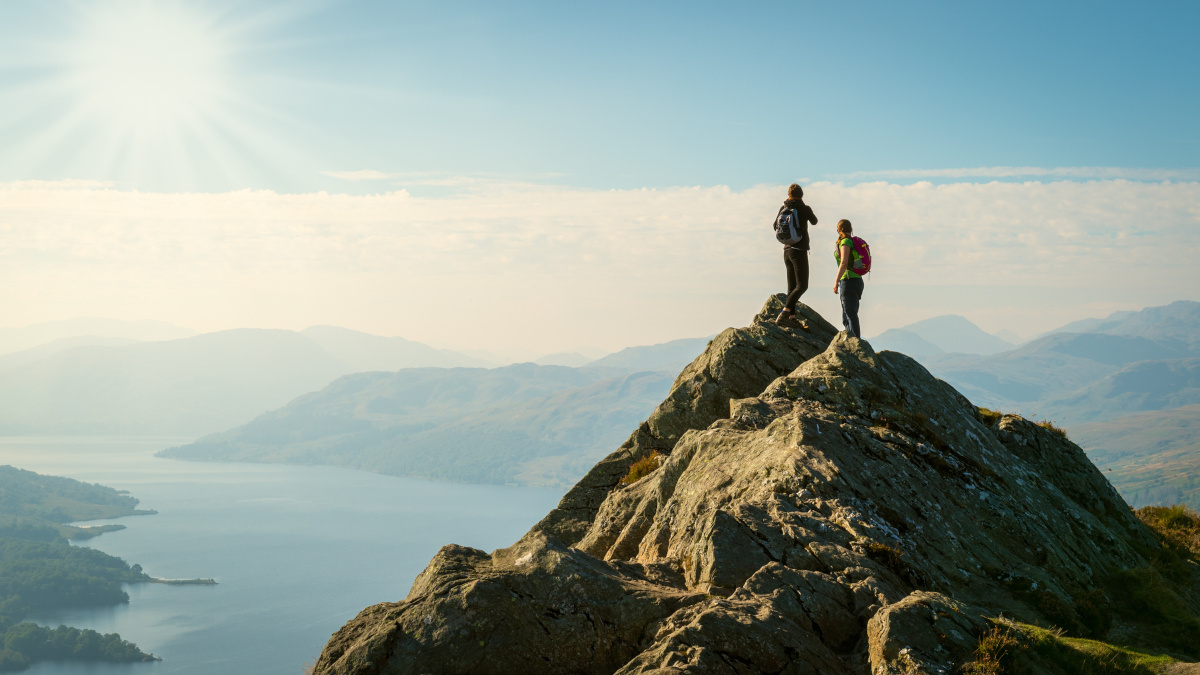
Whether you're trekking through Patagonia's jagged spires, navigating the cloud forests of Peru, or simply tackling your local 15-miler, hiking is one of the most rewarding and soul-stirring ways to connect with the natural world, and it offers valuable time outdoors. But make no mistake: nature doesn't care how many likes your summit selfie gets. When you're out in the backcountry, logistics and hiking safety aren't optional — they're survival.
This comprehensive guide will help you prepare for your next epic trek as it covers mountain logistics, safety, gear and insurance. You’ll learn what experienced adventurers have learned from their own hikes and discover a few tips and essential resources for hiking safety tips, training and coverage to make your adventure successful, rewarding and enjoyable.
This guide cuts through the fluff and gets to what adventure travelers actually need to know to hike smart, safe, and strong.
Why Planning Ahead is Critical for Mountain Hikes
Early planning, ideally some 12 months out, is crucial for successful mountain treks. Securing travel documents, permits, and required vaccinations often involves long lead times. Many popular routes have strict permit quotas that fill quickly, and missing deadlines can derail your plans. Add in unpredictable weather, shifting political climates, and limited transportation or lodging in remote areas, and you’ve got a logistical puzzle best solved early.
And you definitely need to start early with physical training to increase your fitness levels. To start, check out Redpoint’s How to Train for High Altitude Hiking for guidance on physical preparation.
Travel Documents & Permits
Securing the right travel documents, permits, and other official paperwork is one of the most critical (and often overlooked) aspects of preparing for a mountain trek. Failing to prepare these essentials can not only delay your journey but can cancel it outright. Bureaucracy might not be exciting, but it’s a lot more tolerable from your living room than at a border crossing.
Most countries require your passport to be valid for at least six months beyond your entry date. Failing to meet this rule is one of the most common and preventable reasons travelers are denied boarding. Double-check now, not a week before departure.
Visa policies vary widely so know if your destination requires pre-arranged visas (like China, India or Russia) while others offer visas on arrival or are visa-free for certain nationalities. Be sure to apply early, choose the correct type of visa and get any paperwork done quickly. You can confirm the visa rules directly from the country’s official consulate or immigration website (third-party blogs can be outdated or incorrect).
Popular treks like the Inca Trail and Kilimanjaro, have limited permits and daily quotas. So apply well in advance, confirm if you need to secure a registered local guide or outfitter and be flexible as high-season dates can fill up very quickly.
Be sure to bring extra passport-sized photos as they can be needed for permits or visas on arrival, park registrations, or trekking ID cards (commonly required in Nepal). Be sure to also bring multiple printed and digital copies of your passport, travel insurance and any permits or visas. Store a hard copy within your gear, another on your person and then upload a digital version to the cloud (or just email it to yourself). Losing documents mid-trek is a logistical nightmare.
Essential Insurance Coverage
High-altitude trekking demands specialized travel insurance that goes beyond standard travel insurance, especially for those with existing medical conditions. Ensure your policy includes altitude-specific medical, evacuation, search and rescue, trip cancellation, gear protection, and personal liability. Verify coverage for remote area rescue, altitude limits and exclusions, trip cancellation, lost gear, and adventure sports add-ons, which some insurers exclude by default. Always check the fine print—some policies cap altitude coverage at 3,000–4,000 meters, which won’t cut it for serious treks. A solid policy is your lifeline when the nearest hospital is three days and a yak ride away, especially if you have your cell phone for emergencies.
Safety & Emergency Planning
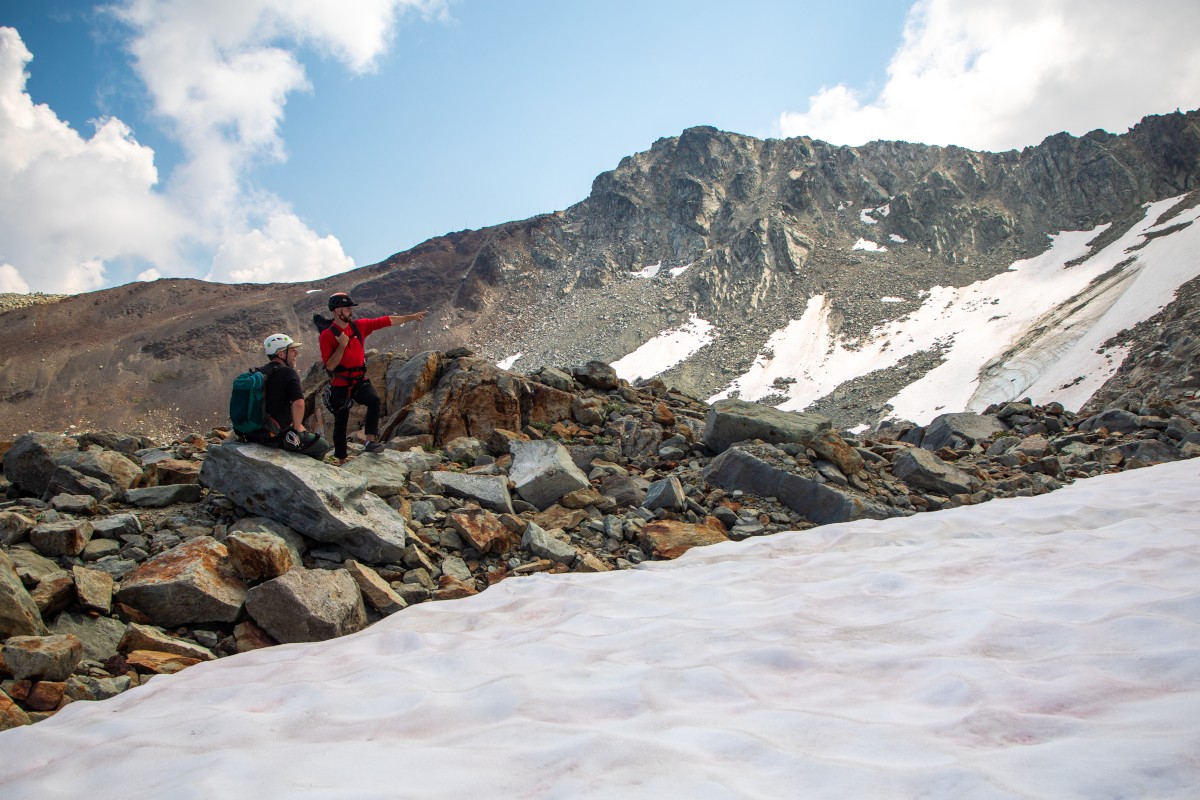
Safety and emergency planning are non-negotiable on high-altitude treks, especially in challenging terrain where conditions can shift from spectacular to life-threatening in minutes. Start by choosing a reputable guide or operator with proven experience at altitude, strong safety protocols, and contingency plans. Check reviews, certifications, and emergency response capabilities. Absolutely don’t just rush to pick the cheapest option. In general, tour operators who join professional associations are more reputable and trustworthy. For two suggestions, you can review members of the U.S. Tour Operators Association or the Adventure Travel Trade Association.
Share your itinerary with someone back home and establish regular check-in times via text or satellite messenger. For remote areas, bring a personal locator beacon (PLB) or satellite communicator (e.g., Garmin inReach) in case of a medical or weather-related emergency.
Equally critical is your acclimatization schedule. Rushing to altitude is dangerous. Build in buffer days to allow your body to adjust, remember to drink water, and to weather out storms or delays. Follow the “climb high, sleep low” principle where possible, and know the early signs of altitude sickness, including Acute Mountain Sickness (AMS), High Altitude Pulmonary Edema (HAPE) and High Altitude Cerebral Edema (HACE).
At altitude, self-reliance is essential—but smart preparation and the right support network can make the difference between a safe hike and a rescue operation.
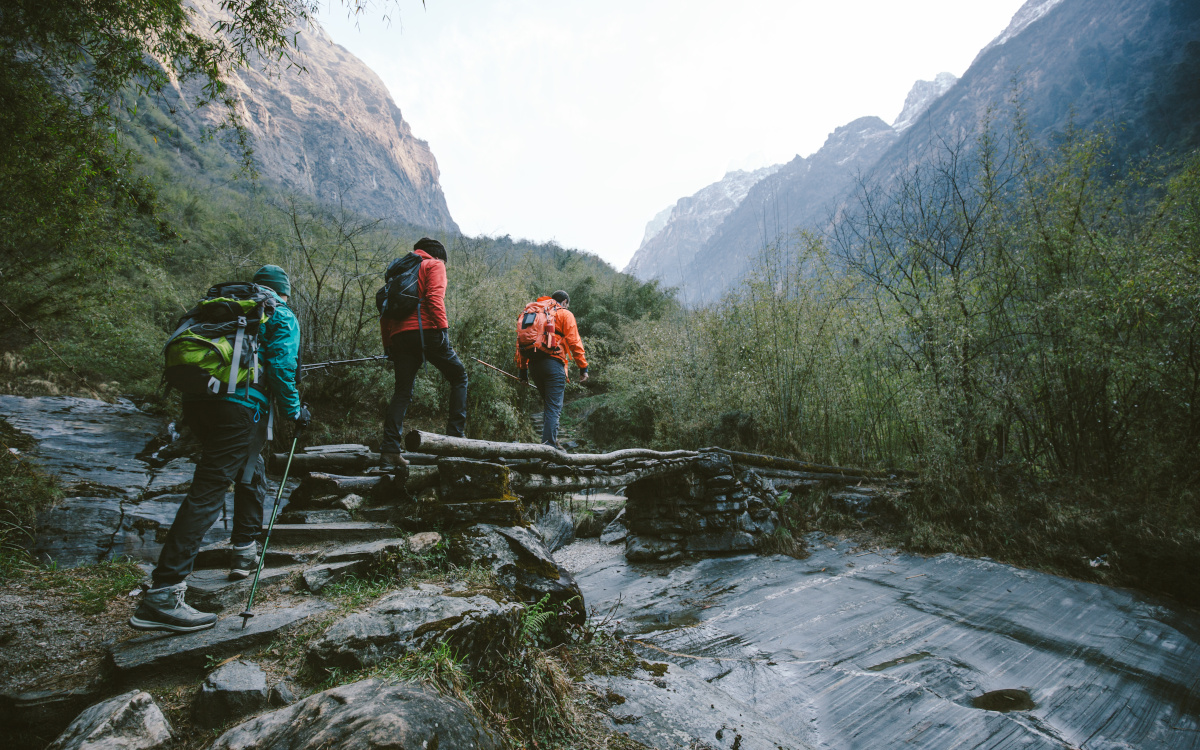
Navigating Logistical Challenges on the Ground
Navigating on-the-ground logistics in high-altitude regions requires foresight and flexibility. Transport delays due to weather or road conditions are common—always budget extra time for internal flights, jeeps, or porters, and check the weather forecast and trail conditions regularly. Accommodation may be limited or basic, especially during peak trekking seasons, so book early when possible and be ready to adapt. Resupply options can be scarce or expensive, so plan food, fuel, and gear needs carefully in advance. Pack light, but smart. Always have contingency plans—an extraction plan, spare cash, or alternate routes—because rigid itineraries rarely survive contact with mountain reality. Flexibility is your greatest logistical asset.
Transport & Accommodation
For high-altitude treks, book international and regional transport well in advance, especially flights to remote areas, which are often weather-dependent and limited. Be aware of strict baggage limits on small planes. Secure accommodation in staging towns and trailheads early, especially during high season. In remote areas, lodging may be basic or first-come, first-served, so carry essentials for unplanned overnights (such as a one-person bivy sack). Always verify reservations and be ready for last-minute changes. For the trek itself, confirm how your gear will be transported (porter, mule, jeep, on your back?) and pack accordingly.
Gear, Food, and Water
High-altitude treks often pass through regions with limited access to food, fuel, and clean water, so thorough planning is essential. Stock up on lightweight, high-calorie foods before entering remote areas such as freeze-dried meals, energy bars, and trail mixes (and don’t forget to treat yourself with some favorite candy bars or other calorie-rich options). Don’t assume resupply points will be stocked or open. If cooking, bring reliable fuel canisters compatible with your stove, and plan for the altitude’s impact on boil times. Clean water is never guaranteed, so carry a primary purification method (filter or UV purifier) and a backup, like iodine tablets. Stay vigilant about waterborne illness; even pristine-looking streams can carry parasites, and it’s essential to know how to contact rescue teams if needed.
The following is a guide with suggested items to take on your trek but follow the recommendations of your guide or tour operator and always consider the demands of the terrain in which you’ll hike.
Purchase proper gear early and learn to use it locally, first on day hikes and then on longer excursions close to home. See what gear you need and what might be extraneous. Learn how to pack light! As they say, “Ounces equal pounds, and pounds equal pain.”
Packs & Bags
- Backpack (50–70L) – With proper support and rain cover
- Daypack (20–30L) – For acclimatization hikes or summit day
- Duffel bag – For gear transport (and note that soft-sided bags can be better for stuffing into smaller spaces, like the hold of a small aircraft or back of a truck, or you can consider a split bag which zips into two smaller bags)
Navigation & Safety
- GPS with map and compass for back up
- Personal locator beacon or satellite communicator (e.g., Garmin inReach)
- Trekking / hiking poles – Collapsible and adjustable
- Headlamp and extra batteries
- Sunglasses – UV-blocking
- Sunscreen (SPF 50+), lip balm with SPF (by the way, if you’ll be crossing snowfields, use sunscreen on the underside of your nose as the light will be reflected up toward it)
- Customized first aid kit with medications for altitude sickness (such as Diamox, if prescribed)
- Water purification (water filter or UV purifier AND back up iodine tablets)
- Whistle, multitool/knife
- Emergency space blanket or bivy sack
- Adventure Travel Insurance
- Hiking & Trekking Activity Coverage
Appropriate footwear
- Sturdy hiking boots (broken-in, waterproof)
- Light hiking shoes/sandals (for evenings at camp and tennis shoes or other comfortable shoes can fit the bill)
Appropriate clothing: Layering System
(note: always avoid cotton garments as once wet, they will not insulate you at all)
- Hat or other sun protection
- Base Layers (especially ones that wick moisture)
- 2–3 x Thermal tops (merino wool/synthetic)
- 2 x Thermal bottoms
- Sports bra/underwear
- Mid Layers
- 1 x Lightweight fleece or softshell jacket
- 1 x Insulated down or synthetic puffy jacket (warm)
- 1 x Insulated vest (optional)
- 3–4 x Synthetic or Wool socks
- 1–2 x Sock liners (for blister prevention)
Outer Layer
- Waterproof jacket shell (breathable, such as Gore-Tex or equivalent)
- Waterproof pants (full zip preferred for easy layering)
- 2–3 x Hiking pants (convertible or softshell)
- 2–3 x Moisture-wicking shirts (long/short sleeve mix)
- 1 x Warm trekking shirt (flannel or fleece)
Cold Weather Accessories
- Insulated gloves/mittens and liners
- Beanie/wool hat
- Buff or neck gaiter
- Balaclava or ski mask (for extreme cold/wind)
- Gaiters (especially if hiking in snow or scree)
Sleeping & Camping
- 4-season sleeping bag (rated to -10°C / 14°F or colder)
- Sleeping bag liner (adds warmth)
- Insulated sleeping pad (foam + inflatable combo ideal)
- Tent or bivy sack
Food & Hydration
- 2–3 L hydration system (bladder or bottles, insulated) to stay hydrated
- Electrolyte tablets/powder
- Trail snacks (bars, nuts, dried fruit, jerky) and extra food
- Energy gels or high-calorie snacks (for summit day)
- Personal utensils (spoon/fork, bowl, mug)
- Lightweight stove, fuel, pot (if self-supported)
Hygiene & Miscellaneous
- Quick-dry towel
- Toothbrush/toothpaste
- Biodegradable soap/wipes
- Toilet paper + trowel / wag bag
- Hand sanitizer
- Lightweight book/journal/cards
- Power bank or solar charger
- Permits, passport, ID, insurance info
- Cash (local currency for tips/purchases)
- Extra cash (and consider a way to stash your cash like a money belt)
Optional but Useful
- Crampons, microspikes or other traction devices (for icy conditions)
- Ice axe (if technical terrain)
- Altimeter watch
- Camera/binoculars
- Lightweight sit pad
- List of friend or family member’s phone numbers, in case of an emergency
Dealing with the Unexpected
High-altitude hikes are inherently unpredictable—weather can close passes, political unrest can block access, and altitude sickness can derail the strongest trekkers. Smart hikers plan for contingencies by building buffer days into their itinerary and keeping flexible travel arrangements. Local guides and agents are invaluable in navigating sudden changes; they can reroute treks, arrange emergency transport, or tap into local networks when things go sideways. Always stay informed about local conditions and have a backup plan for key logistics. The mountains don’t care about your schedule—adaptability, not stubbornness, is what gets you through when the unexpected strikes. And keep the phone numbers for your nearest embassy or consulate on-hand, just in case.
Staying Calm and Making Decisions Under Pressure
High-altitude treks can test your mental resilience as much as your legs. In stressful moments—like sudden weather shifts or tough climbs—use grounding techniques: deep breathing, mental checklists, or focusing on small, manageable tasks to stay calm. Direct your energy toward what you can control, like hydration, pacing and positive attitude, rather than fixating on what you can’t. Team morale matters, so offer encouragement and stay connected. Speak honestly about your needs; clear, respectful communication prevents tension and misunderstandings. Above all, practice self-compassion, as altitude affects everyone differently. Recognizing limits isn’t weakness; it’s wisdom that keeps you and your team safe and moving forward.
Lessons from Experienced Adventurers
High-altitude trekking demands preparation and adaptability. Flexibility and patience are crucial; mountain conditions change quickly, and rigid schedules can create unnecessary stress. Here are a few tips to keep in mind:
- Always carry extra local currency—ATMs may be scarce or unreliable in remote areas
- Use only tested gear
- Break in boots that provide adequate ankle support and try all clothing layers before the trek
- Get very familiar with all of your gear, including trekking poles, and practice with it until you know you can set up a tent in the dark, can vent your jacket with mittens on, know your preferred way of hiking up your broken-in boots, can access important gear immediately, etc
- Have backup plans for delays due to weather or altitude sickness
- Build strong relationships with local guides and porters—listen to their advice, and show respect for their customs and traditions
- And last but absolutely not least: a positive attitude, cultural sensitivity, and readiness to adapt will enrich your journey and ensure a safer experience.
Get Protected for Your Trek with Redpoint
While training is up to you, Redpoint can help keep you protected on your high-altitude trek with comprehensive travel insurance. Our international travel insurance plans — Ripcord, Cavalry, and Harbor — include medical care and emergency evacuation coverage in case anything goes wrong on your trek. Get a quote for your next trip today, and don’t leave sea level without it.